Step 1: Uninstall the old version (if applicable)
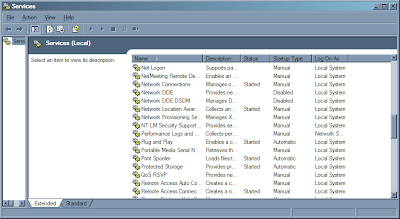
First go "programs" -> "admin tools" -> "services".
Find the exact name of the service by finding it in the name column. Lets say the name of the service you want to uninstall is oldservice. Now bring up a console window so that you can make use of the utility sc or service control that comes with most new versions of windows. If you do not have it, you can get it for free in the "platform SDK". Bring up a console window with "start" -> "run", then type "cmd" and hit enter. Use the following syntax remove the existing service named, oldservice.
Step 2: Install the new service
First you need to know the full path of the .exe file for the service. Lets say its c:\hdas\collectorservice.exe. If you were going to install that binary executable as a service named collector you would use the following syntax. Note the space between the "=" and the start of the path.
Step 3: Configure the user credentials the service runs with
Refresh the service list. Find the newly installed service, right click on it, and select "properties". On the "Log On" tab the user the service runs as can be changed. You must provide the password for the account to be used. One strange thing is what you have to do to select the user from a list instead of typing it in. From the "Log On" tab, hit "This Account", then "browse". Then from that dialog hit "Advanced". From there select your domain name or local computer from the locations area by hitting the "Locations" button. After all that, hit "Find Now". Finally a list of users to pick from comes up. Here is what it looks like on my laptop.
Step 4: Configure the service for automatic start and restart
Get back to the properties of the service dialog. On the general tab select the startup type to "automatic". Then under the "recovery" tab set it to just keep restarting.
Now you can start the service by either restarting the computer or hitting "start" in the "general" tab.
Comments